Many benefits come with renovating your bathroom; not only does it help you relax and boost your mood, but an improved bathroom also increases your home value. This guide will give you an insight in a format to understand the bathroom renovation step by step, what happens in between, and your open options for each step.
Step 1: Planning Your Bathroom renovation step by step
The foundation of this process is planning. Planning is crucial as it saves you time and money and helps you avoid common drawbacks.
Research
Research will save you time, money, worry, and headaches. This guide is to help you do exactly that.
Set a Budget
- Give yourself an estimated realistic value of how much you can and are willing to spend for this project.
- Allocate your budget where spending will be prioritized, whether on materials, labour, luxury, or comfort.
Define Goals and Vision.
- Assess your current bathroom and list what you want to keep, enhance, or change.
- Plan for functionality by optimizing the best layout for your space, considering sufficient storage to keep your bathroom looking its best.
Regulations
Ensure you have any necessary permits for the renovation if you decide to DIY this project.
Step 2: Hiring the Right Professionals

With enough research, you should decide whether to DIY this project or hire professionals to do the job accordingly.
Determine your Needs
Clearly define the scope of work that needs to be done: plumbing, electrical work, tiling, and fixture installation. This is to assess what professionals you need for the project.
Verify Credentials
- Ensure that the contractor possesses the necessary licenses and insurance to protect you from liability in case of accident or damages.
- It’s also a good idea to check if the contractors are members of NKBA (National Kitchen and Bath Association), a professional association.
- Upon initial consultation, consider their communication skills, professionalism, and responsiveness. Request for references or portfolio review to ensure their credibility.
Obtain Detailed Estimates
- Get detailed estimates from at least three contractors to maximize your chance of getting a reasonable price. The written estimate should include labour, materials, timeline, and payment schedule.
- When comparing estimates, don’t automatically choose the lowest bid. Consider the quality of materials, who the contractor is, and the scope of service offered.
Regulations
Inform professionals about necessary permits if required by authorities.
Contract
- Verify the contract covers the work description, costs, timeline, payment schedule, and everything else you and the contractor agreed upon.
- A reputable contractor should be able to provide guarantees for their work.
Step 3: Design
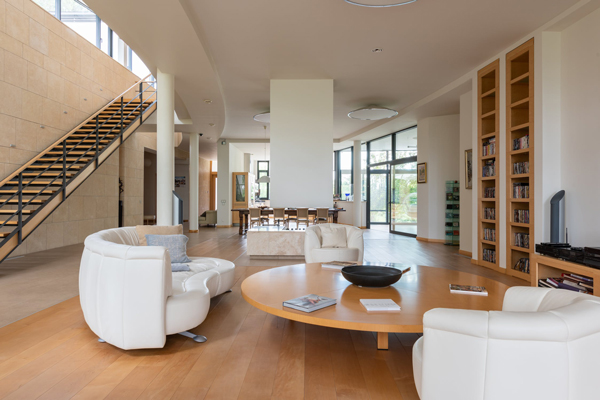
Functionality and Aesthetics
- Consider ensuring your space will be both functional and aesthetically pleasing.
- Think about how your bathroom will be used and who will be using it. Think about the specific needs of the users of this bathroom. Is it a master bathroom that has to be relaxing and luxurious or a guest bathroom that needs practicality?
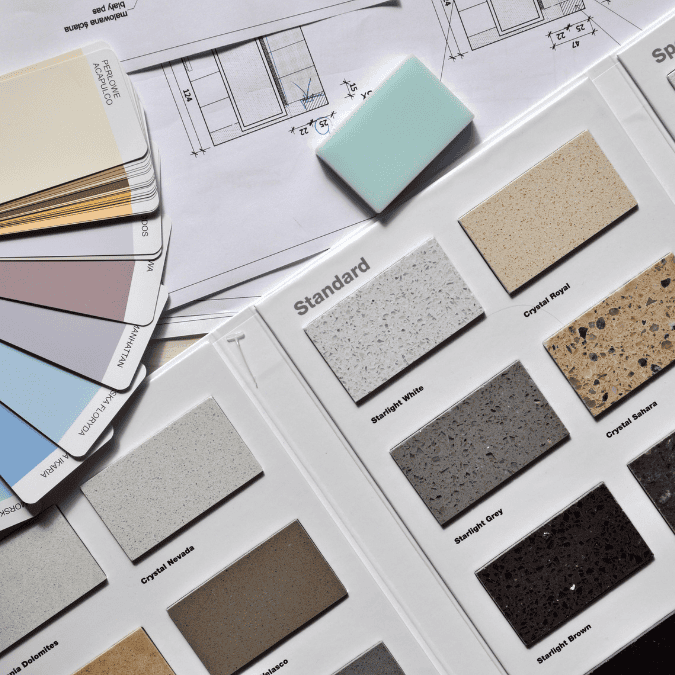
Step 4: Choosing Materials and Fixtures
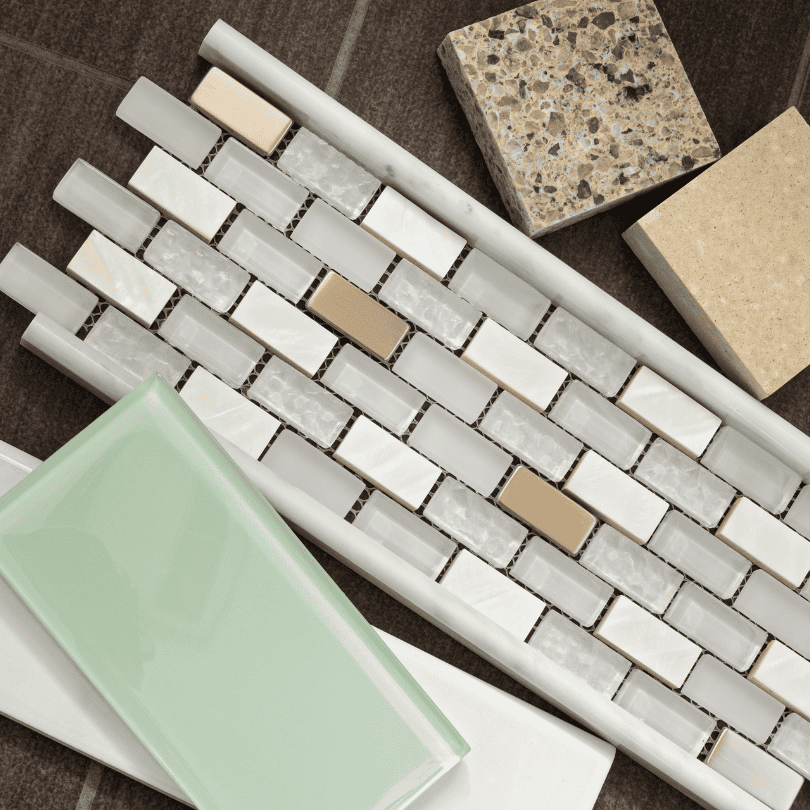
Upon completion and agreement on the design, you can begin looking at materials and fixtures and pick out designs.
Selecting High-quality and Durable Materials
Aim for materials that can withstand moisture and heavy use while considering how easy the materials will be to clean and maintain.
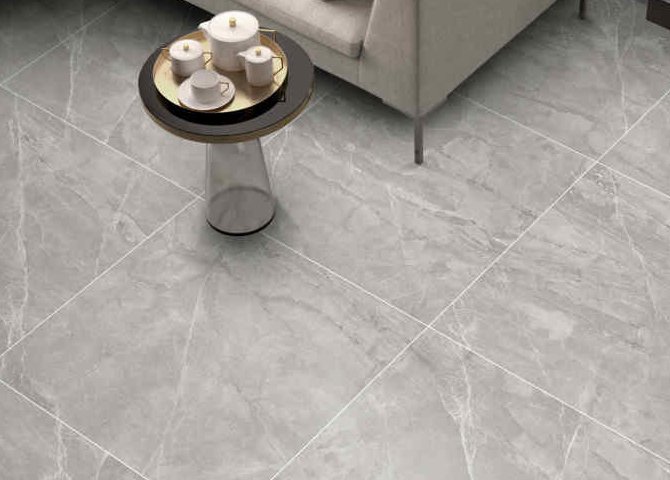
Select Flooring
- For flooring, keep in mind it must be moisture-resistant and waterproof. You can use porcelain tiles, ceramic tiles or vinyl for flooring and porcelain ceramic tiles or acrylic for shower areas.
- Ensure the flooring you choose is slip-resistant to prevent accidents, especially when wet. Avoid using glossy tiles in the shower area.
Pick Wall Tiles or Paint
Choose from ceramic, porcelain or glass tiles. To get a cohesive aesthetic look, consider grout colour and texture. If you use paint instead, aim for high-quality, moisture-resistant paint for bathrooms.
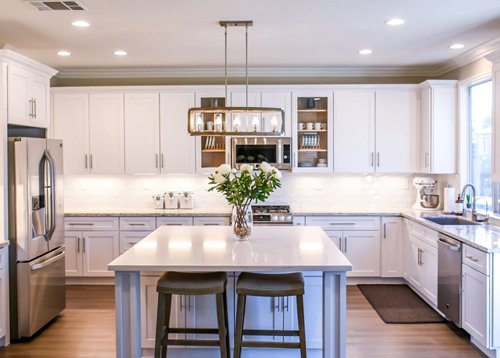
Choose Cabinets and Vanities
- Assess what your space needs and carefully consider the layout, such as ensuring enough space for doors and drawers to open fully. Think about the functionality and storage you need. For example, a family bathroom might need more storage than a guest bathroom.
- Customize your cabinets with us.
Select Countertops
Use quartz as your countertop; it is the most durable, easy to maintain, and can withstand wear and tear.
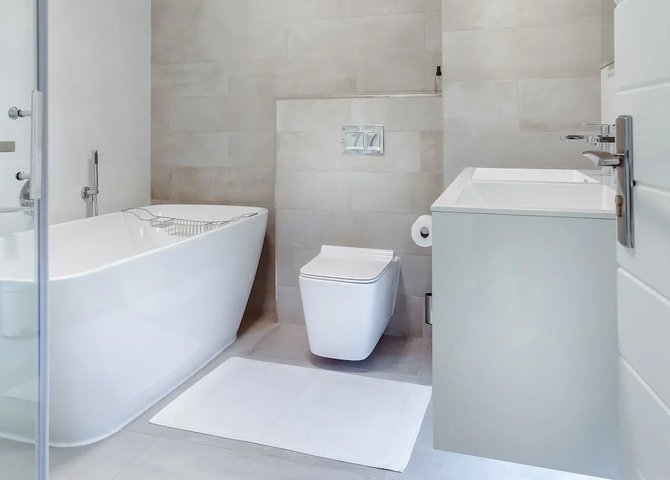
Fixtures
Consider your sink types and toilets. Think about its functionality. For example, an integrated sink gives a seamless look and is easy to clean, making it perfect for modern and minimalistic design or a drop-in sink that allows you more countertop space.
Lighting
Use waterproof light bulbs made explicitly for bathroom and high-moist areas. Consider a safe option of dimmable and layering lighting by identifying areas that need illumination for specific needs like grooming.
Hardware and Accessories
Choose hardware that matches your bathroom’s aesthetic, style and mood, whether modern, minimal, vintage, etc. Consider installing soft-close drawers and doors to add a touch of luxury and durability to your cabinets.
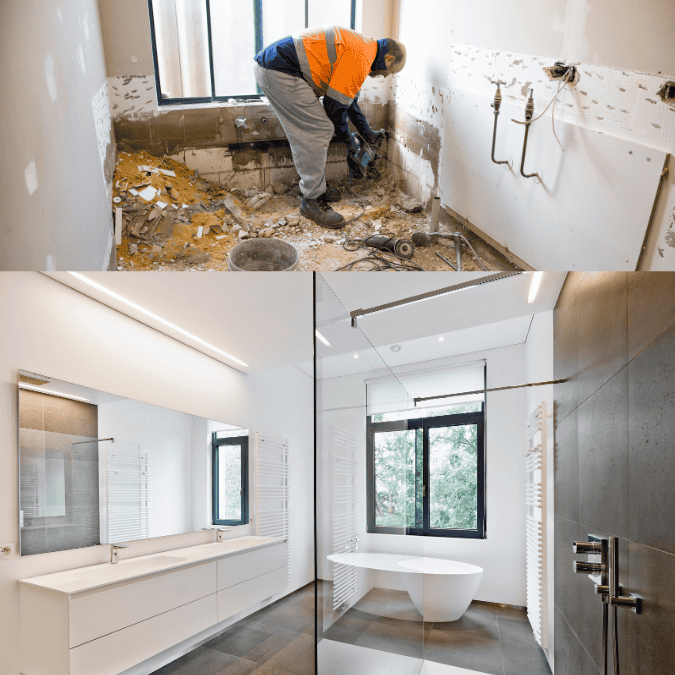
Step 5: Demolition and Preparation
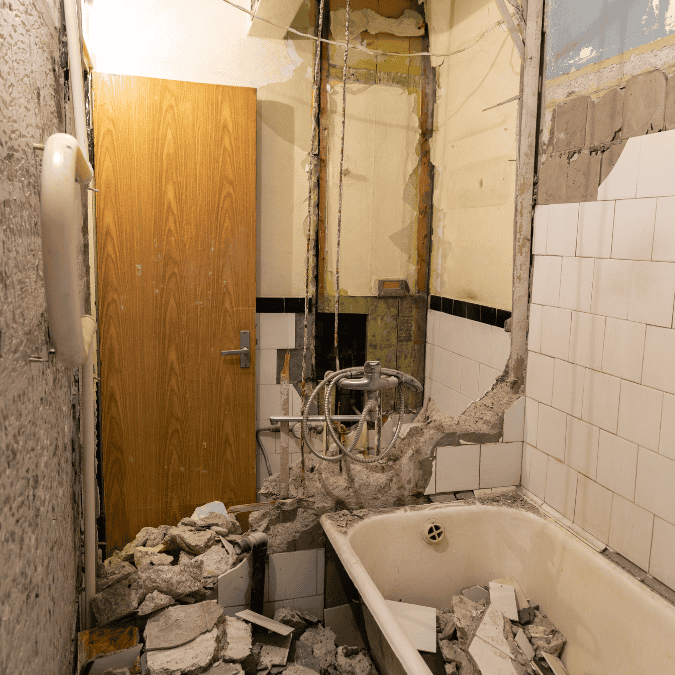
During or after picking out materials, the process of taking apart the pre-existing material would begin.
Preparing your Bathroom for Demolition
Protect surrounding areas to protect the floor or anything to be kept with drop cloths or plastic sheetings.
Removing Old Fixtures and Materials
Safely detach sinks, toilets, bathtubs, or any fixtures you want to replace.
Dealing with Plumbing and Electrical Systems
It’s recommended that professionals deal with plumbing and electrical work.
Step 6: Installation and Construction
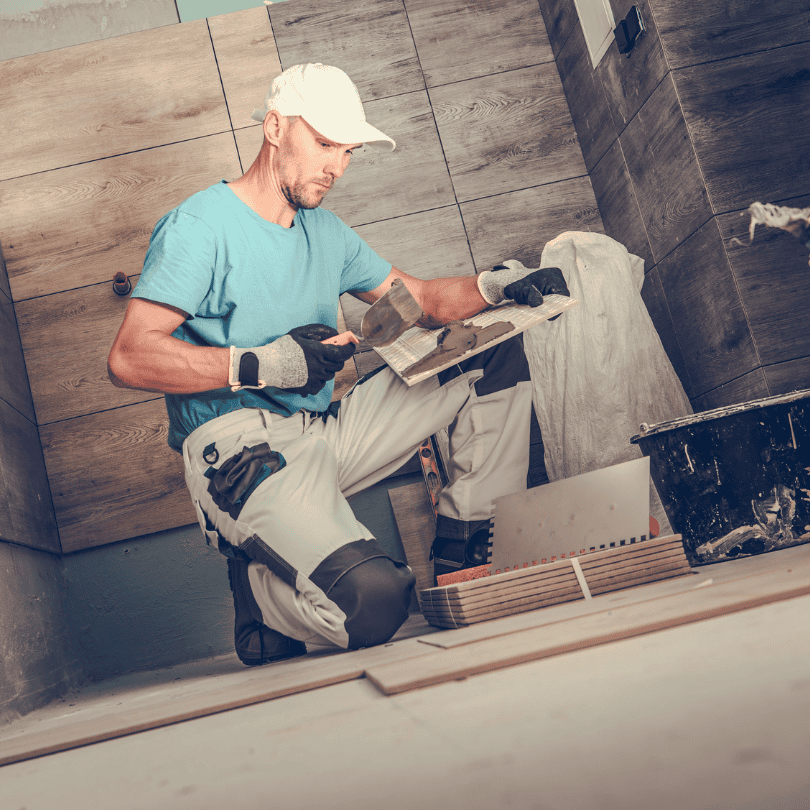
After disposing of the pre-existing materials, the installation of fixtures and construction will begin.
Installation
- Installing new plumbing and electrical systems after inspection for potential damages and repair if needed.
- The material installation will begin with Installing tiles for flooring and walls, then installing fixtures such as your sink, toilet, bathtubs, or any fixtures you were initially replacing while ensuring everything is levelled and properly installed.
Step 7: Final Inspection

Waterproofing
Our contractors use the Schluter-Shower System to ensure water and vapour will not penetrate the grout joints and the tiles. Schluter-Shower System eliminates leaks, preventing mould growth. Afterwards, we conduct a 24-hour flood test to ensure everything is waterproofed.
Conclusion
Successful bathroom renovation step by step requires research, careful planning, the right contractors, and attention to detail. With this step-by-step guide, create a bathroom that will meet your functional needs and bring your vision to life. Be well-equipped to navigate the renovation process to avoid common pitfalls. Your dream bathroom is within reach with our proper preparation and professional support.
If you have questions, visit our showroom in Vancouver or call us.